
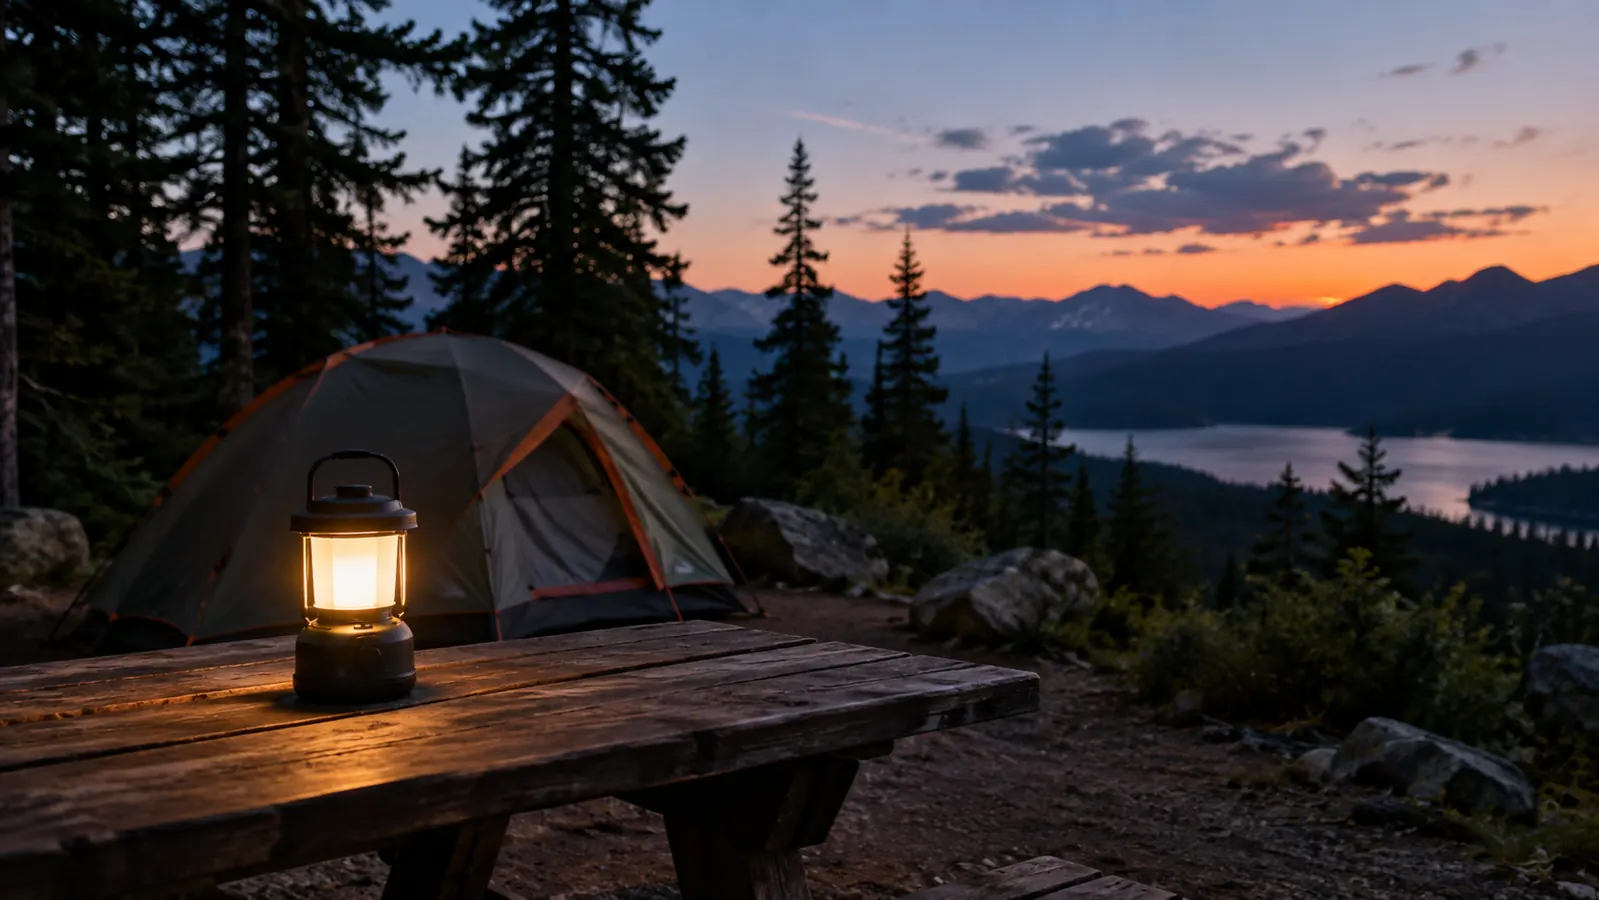
I used to bring four separate lights on every camping trip: a big heavy lantern that ate D batteries, two headlamps that died at the worst moments, and a string of little lights that tangled every single time. By the second night I was rationing batteries and squinting at the camp stove. Then I switched to a single rechargeable lantern from Lepro, and the whole system changed. One charge now covers an entire weekend, and I pack one small box instead of a bag of batteries. That single change cut the weight of my lighting kit by at least three pounds and cut the number of times I had to walk back to the car for something I forgot.
That lantern is the Lepro 1000LM LED Camping Lantern, and this is how I set up our campsite so a single charge gets us through three nights without ever going dark. I'm not a gear obsessive. I'm a 54-year-old who camps out of plastic bins in the back of a 2016 4Runner, and I need lighting that works without a manual. The lantern has been through about twenty trips with me now, and it has never once left me in the dark, which is more than I can say for the old battery-powered setup.
See the Lepro 1000LM lantern that changed my camp setup
One rechargeable lantern replaced four battery-powered lights in my bin. Check today's price on Amazon and see if it fits your camp kit.
Amazon Check Today's Price on Amazon →Step 1: Plan the layout before you unpack anything
The biggest mistake I made for years was setting up camp in the order the gear came out of the car, which meant the tent went up first and the lighting was an afterthought. Now I spend two minutes walking the site and deciding where the lantern will live before I unclip a single strap. On our regular spot near the Kaibab National Forest, that means picking a flat spot on the table side, not the tent side, because the table is where we cook and eat and play cards until ten. I measure the distance with my eyes: the table is about ten paces from the tent door, so the lantern has to reach both areas without me having to move it. That planning alone saved me from a lot of stumbling in the dark on the first night.
I also think about the return trip. My right knee, which I wrecked on the Kachina Trail two years ago, does not enjoy walking back and forth in the dark. So the lantern goes where I can see it from the tent door, and I keep a small headlamp in the tent for the late-night bathroom run. That way the lantern stays put all weekend, and I am not carrying it around and risking a drop. On the first trip with this system, I realized I had not once used the headlamp because the low glow from the lantern was enough to guide me to the pit toilet. That was the moment I knew I had finally gotten camp lighting right.
On a trip to the eastern Sierra last October, I watched a neighboring camper spend twenty minutes wrestling with a string of fairy lights that kept tangling around a chair leg. I had my whole lighting system up in under five minutes because the lantern has a single hook and a flat base, and I had already decided where it would hang. That is the difference a little planning makes. I also learned that the hook can hold the lantern from a tent ridge line, which means I can adjust its height depending on whether we are cooking or sitting. That simple feature turned the lantern from a table lamp into a versatile light source.
Step 2: Use the lantern as the hub, not the only light
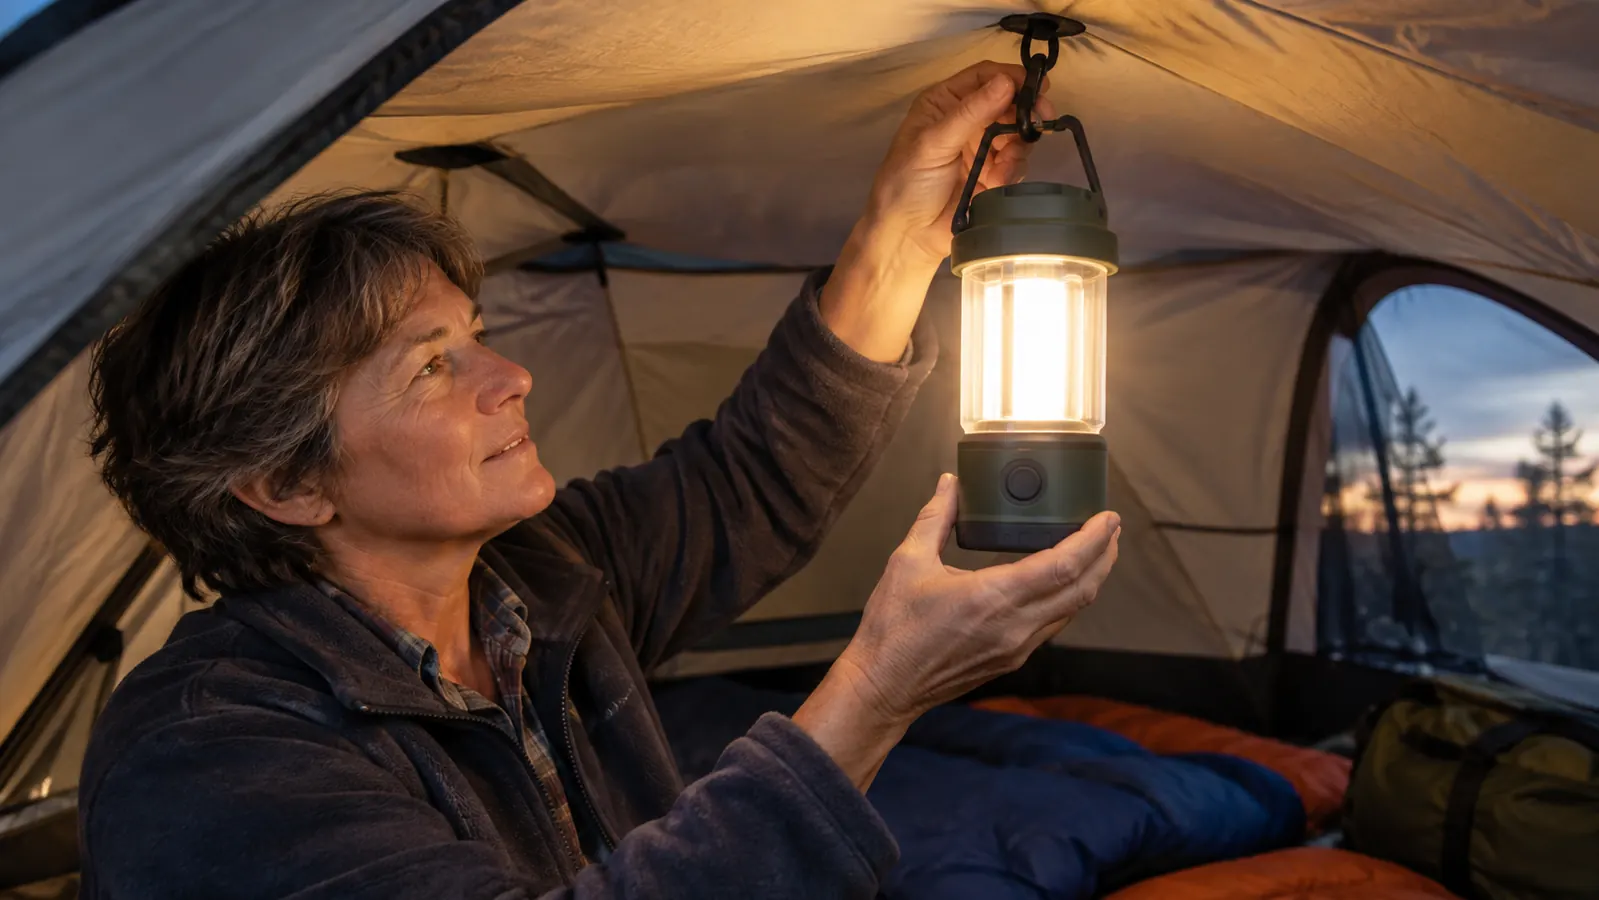
The Lepro lantern has four light modes, and I use them like a dimmer switch rather than a novelty. The brightest mode, 1000 lumens, is for cooking and cleaning up after dinner. I hang it from the awning pole or set it on the table, and it lights a whole six-person dome tent plus the immediate cooking area. For eating, I drop it to the medium mode, which is still plenty bright to see what is on your plate without blinding everyone at the next site. On a trip to the North Rim, I found that the high mode was actually too bright for a small campsite, and I quickly learned to reserve it for when I needed to see small details, like reading the fuel gauge on the camp stove.
The low mode is the one that saves the battery. On a weekend trip, I run the lantern on low from about 9 p.m. to 7 a.m., which gives us a soft glow for late-night conversations and a safe path to the tent. That mode draws so little power that after three nights I still have enough charge for the drive home and a few hours of emergency light at home. I have tested this on at least a dozen trips, and the pattern is consistent: the low mode uses roughly a tenth of the power of the high mode, so I rarely need to switch to high for more than a few minutes at a time.
I used to think I needed a separate light for every corner of the site. Now I know one good lantern in the center of the action does the work of four lights, because light spreads when it has a clear path. The Lepro's diffuser spreads light evenly without hotspots, so we do not get that harsh circle on the table and darkness beyond it. On a rainy evening in southern Utah, we sat under a tarp with the lantern on low and played cards for two hours without ever feeling the need for another light. That is the kind of performance I look for: one tool that does the job of many without fuss.
Step 3: Set the brightness to what you actually need, not what you think you need
The 1000 lumen rating sounds impressive, but you rarely need all of it. I learned that the hard way on a trip to the Grand Canyon's North Rim, where I turned the lantern to max and lit up half the campground. It was bright, sure, but it also drained the battery faster and made it hard for other campers to sleep. Now I start on medium and only bump to high for tasks like filleting fish or finding a dropped earring. I also keep the lantern on a low setting when we are sitting around the fire, because the fire itself provides a lot of light and the lantern just needs to fill in the shadows.
The Lepro lantern's four modes are: high, medium, low, and a flashing emergency mode. I have never used the flashing mode, but I like knowing it is there in case we need to signal someone on a night hike. The controls are a single button that cycles through the modes, so there is no fumbling with multiple switches in the dark. That simplicity matters when you are half-asleep and need to find the bathroom. The button is also raised enough that I can find it by touch, which is something I did not appreciate until I tried to operate it with cold, mittened hands on a frosty October morning.
I also use the low mode as a nightlight inside the tent. I set the lantern on the floor near the door, and its soft glow makes midnight trips to the bathroom much easier on the knees. My husband Ray, who usually sleeps through anything, says he appreciates that he can see where he is stepping without being blinded. That low setting also means we can leave the tent partially unzipped for ventilation without letting in a flood of light that would attract bugs. I have learned to trust the low mode more than I expected, because it turns out that a little light goes a long way when your eyes are adjusted to the dark.
Step 4: Position the lantern where it does double duty
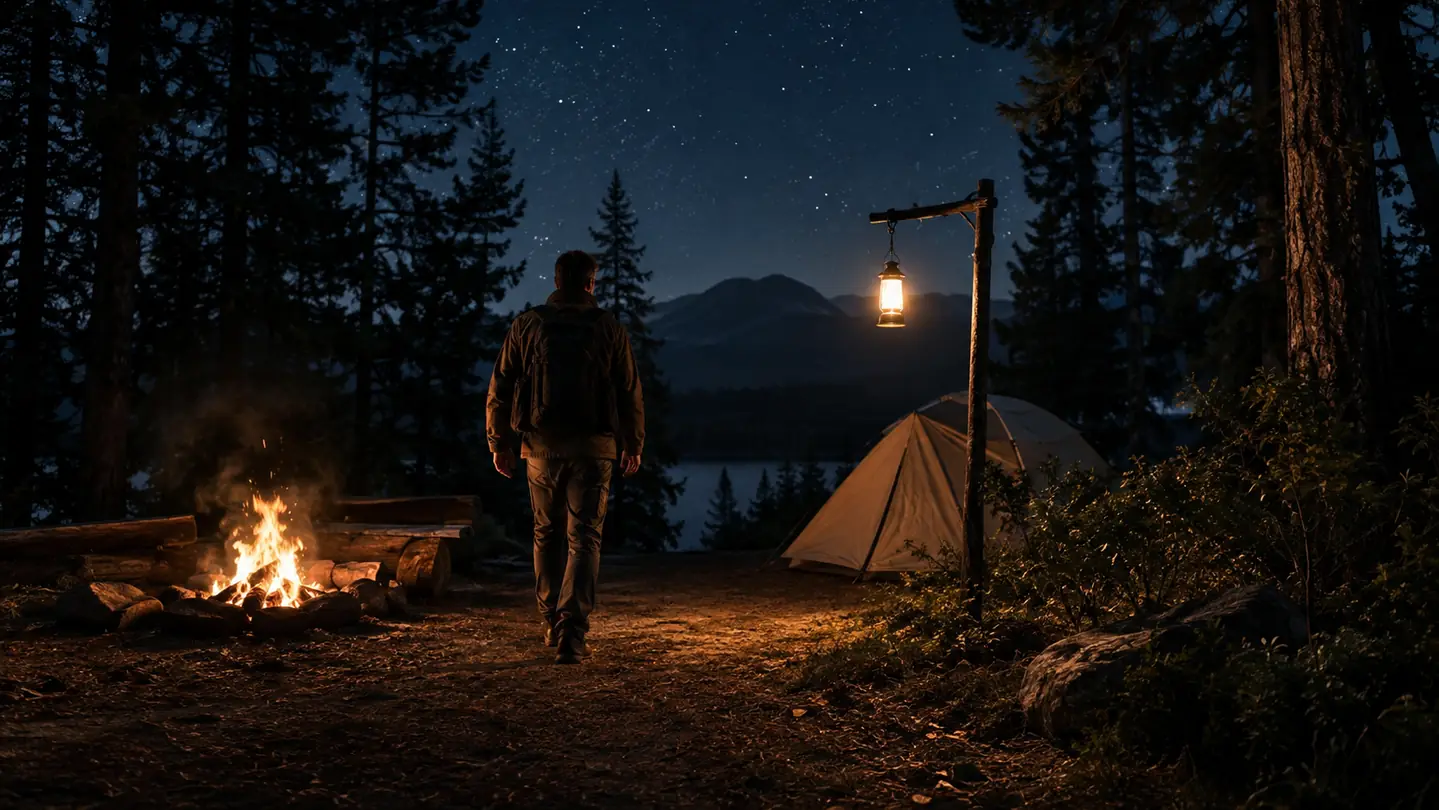
The best camp lighting is the kind that solves two problems at once. I hang the Lepro lantern from the center pole of the tent at night, which lights the whole interior and also acts as a gentle beacon so I can find the tent from the fire pit. During the day, I set it on the table with the lens pointed down, and it becomes a work light for sorting gear or reading a map. That dual use means I pack one lantern instead of two, and I never have to think about which light goes where.
The lantern has a sturdy hook on top that folds flat when not in use. That hook has saved me more times than I can count. I hang it from a branch when we are cooking away from the table, and from the inside of the tent when we are reading. The flat base also means it sits steadily on a picnic table without rolling off, even when the wind picks up. I remember one gusty afternoon at a site near the Vermilion Cliffs where the lantern stayed put while the paper plates went flying. That stability is the kind of detail you do not notice until you need it.
On a rainy trip to southern Utah last spring, I hung the lantern from the awning of our tent and used it to light the area where we cooked under a tarp. The light was bright enough to see the rain on the stove, but not so bright that it attracted every bug in the county. That is the balance I look for: enough light to work by, not so much that it ruins the mood or the wildlife. I have also hung it from a low branch to light a path to the car, so I can see where I am stepping with my bad knee. That positioning trick has made a real difference on trips where the ground is uneven.
Step 5: Charge once, then manage the battery like a pro
The whole point of this lantern is that one charge lasts a weekend, but that only works if you treat the battery like a resource. I charge it fully the night before we leave, which takes about three hours on the USB port. I also bring a small power bank in case we stay an extra night, but I have only needed it twice in two seasons of camping. That power bank weighs less than a pound, and it doubles as a charger for my phone, so it is not a wasted addition.
During the weekend, I follow the same routine: high mode for dinner, medium for eating, low for the rest of the night. I also turn it off completely when we are away from camp for a long hike, rather than leaving it on low. On a typical three-night trip, I end Sunday morning with about 40% charge left, which is plenty for the drive home and a few hours of light if we get home after dark. I have also started charging the lantern in the car while we drive to the trailhead, using the 12-volt port, which means I never arrive with a dead battery even if I forgot to charge it the night before.
The battery indicator is a simple set of LEDs on the side. I check it once a day, usually in the morning, to see where we stand. That five-second check has saved me from the anxiety of wondering if the light will die at 2 a.m. It also means I never have to carry a bag of spare batteries, which is a weight off my knee and my pack. On the last trip of the season, I left the lantern on low all night by accident and woke up to find the indicator still showing two of four bars. That margin of safety is exactly why I trust this lantern for the whole weekend.
What Else Helps
Beyond the lantern itself, a few small things make the whole system work better. I keep a small headlamp in the tent for personal use, and a tiny USB fan for hot nights. I also use a carabiner to clip the lantern to the tent's interior loop, so it does not swing when the wind blows. And I always pack the lantern in the same bin, in the same pocket, so I do not have to dig for it at night. That organization sounds boring, but it has saved me more time than any fancy gadget.
One charge on the Lepro lantern covered three full nights of camp lighting, and I still had power to spare on Sunday morning.
Ready to simplify your camp lighting?
The Lepro 1000LM lantern has become the only light I pack for most trips. Check today's price and see if it can replace your battery pile.
Amazon Check Today's Price on Amazon →